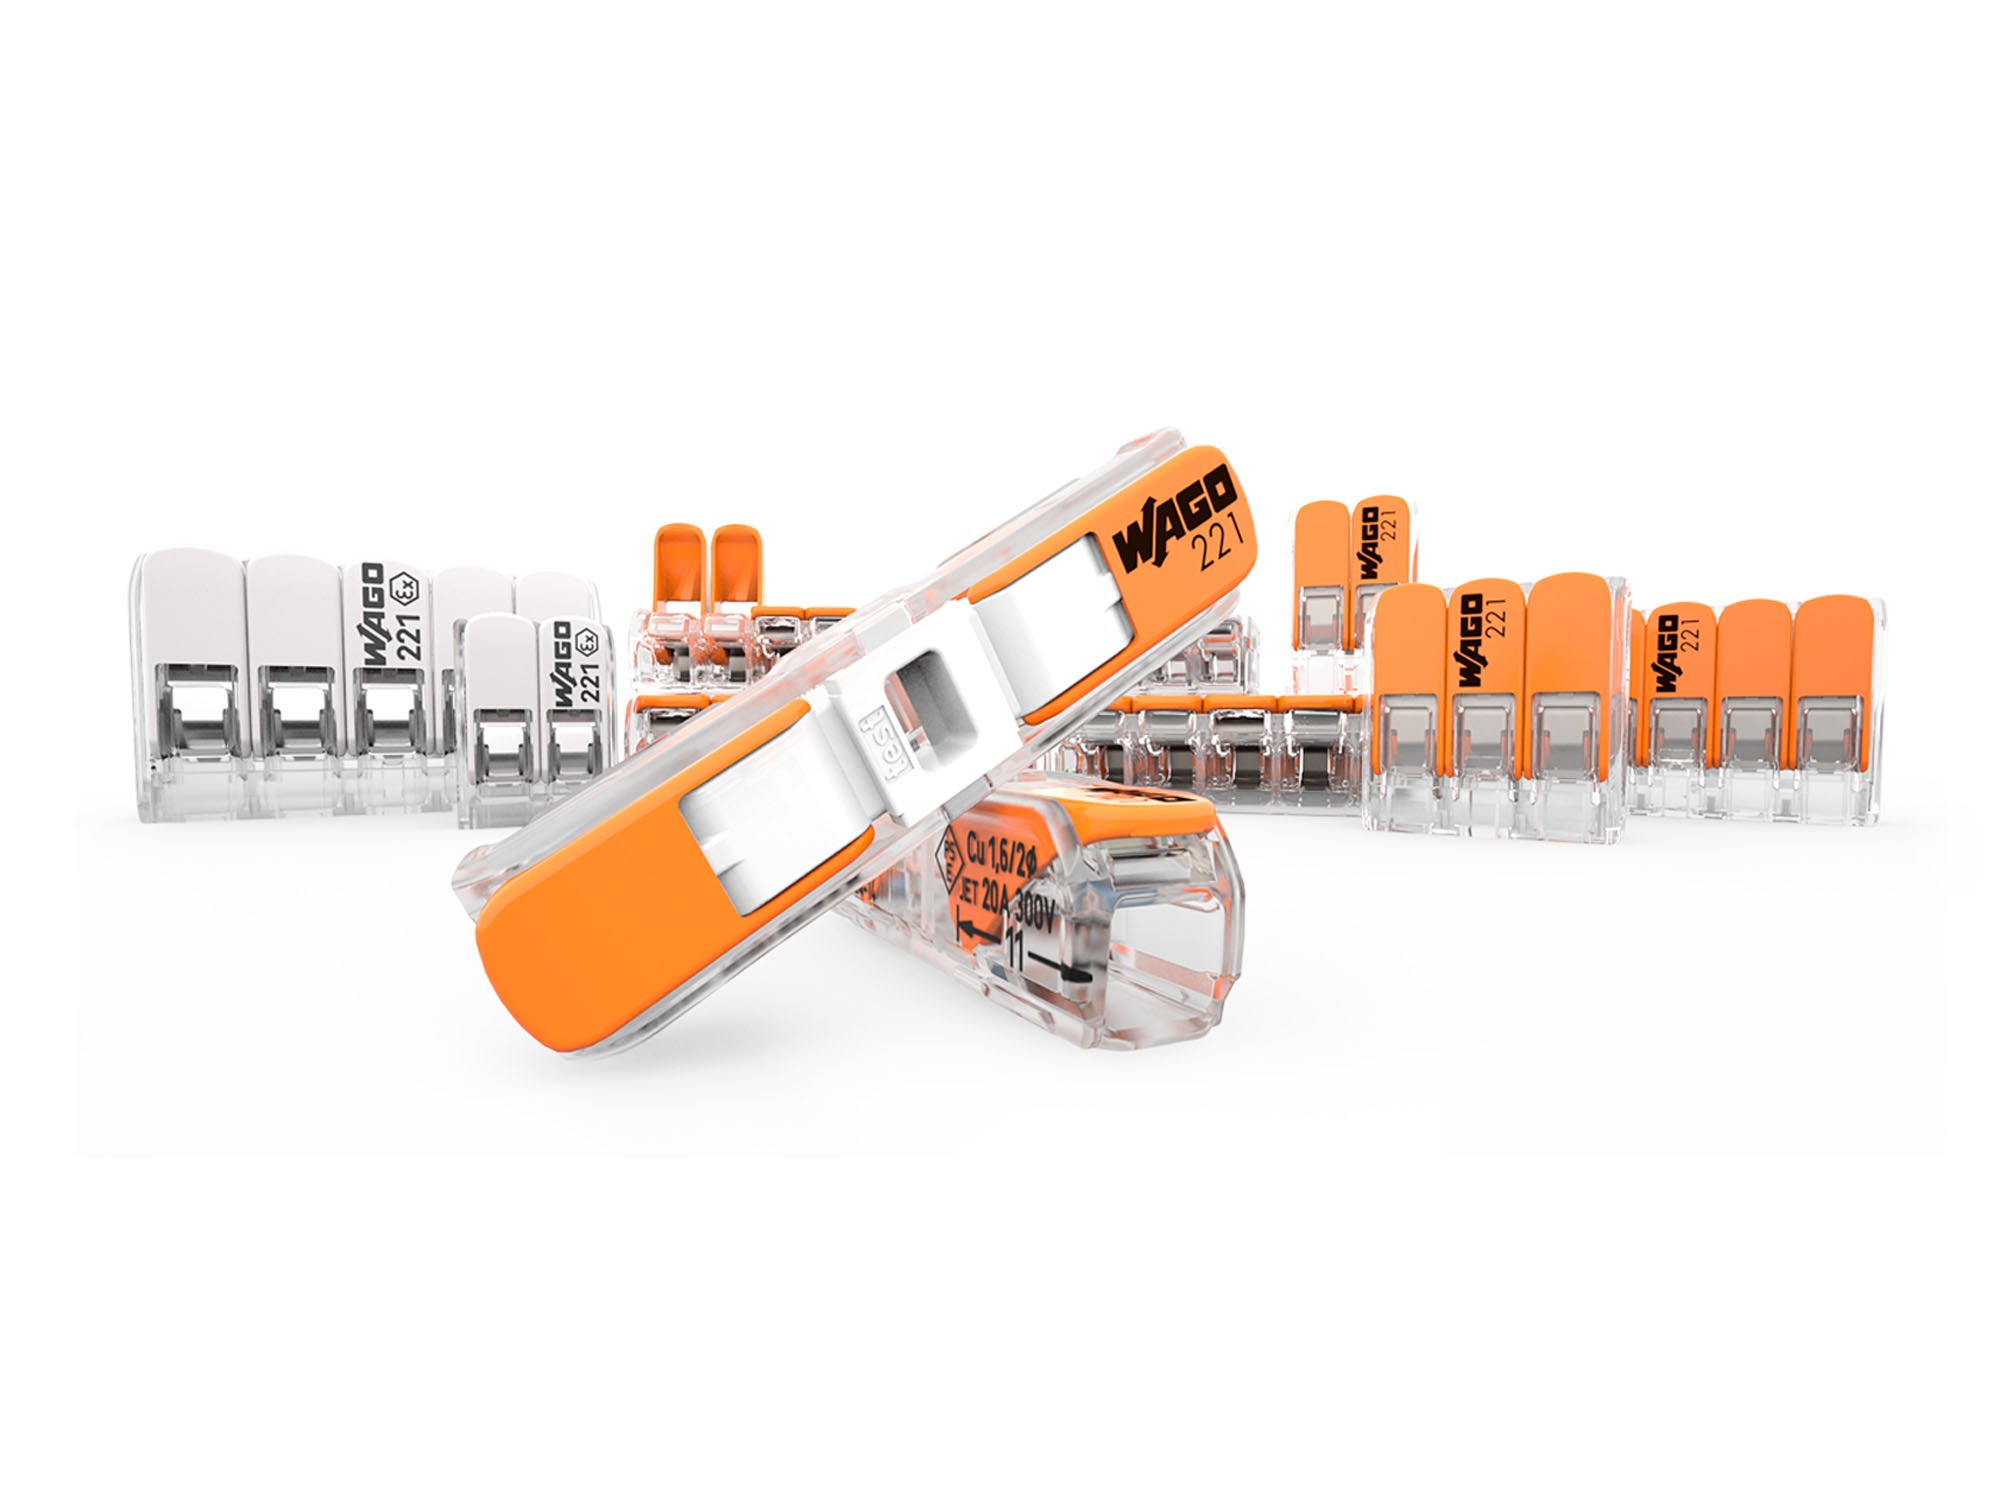
Step One:
Strip wire to proper length, 11 mm (0.43 in.).
Use indicator on side of connector.
Paso 1:
Pelar el cable a la longitud adecuada, 11 mm (0,43 pulg.)
Use el indicador de uso del lateral del conector
Step Two:
Push lever up and insert wire.
Paso 2:
Levante la palanca e inserte el cable.
Step Three:
After wire is inserted, push lever down.
Repeat steps 1 and 2 for additional connection. To remove connection, push lever up and remove the conductor.
Paso 3:
Una vez introducido el cable, empuje la palanca hacia abajo.
Repita los pasos 1 y 2 para una conexión adicional.
Para retirar la conexión, empuje la palanca hacia arriba y retire el cable.
